
Today another in my ongoing, seldom-updated series of posts about building my own backyard foundry. Today I’ll describe how the final step works: actually melting and pouring the metal. First, see my previous post on how to make a green sand mold.
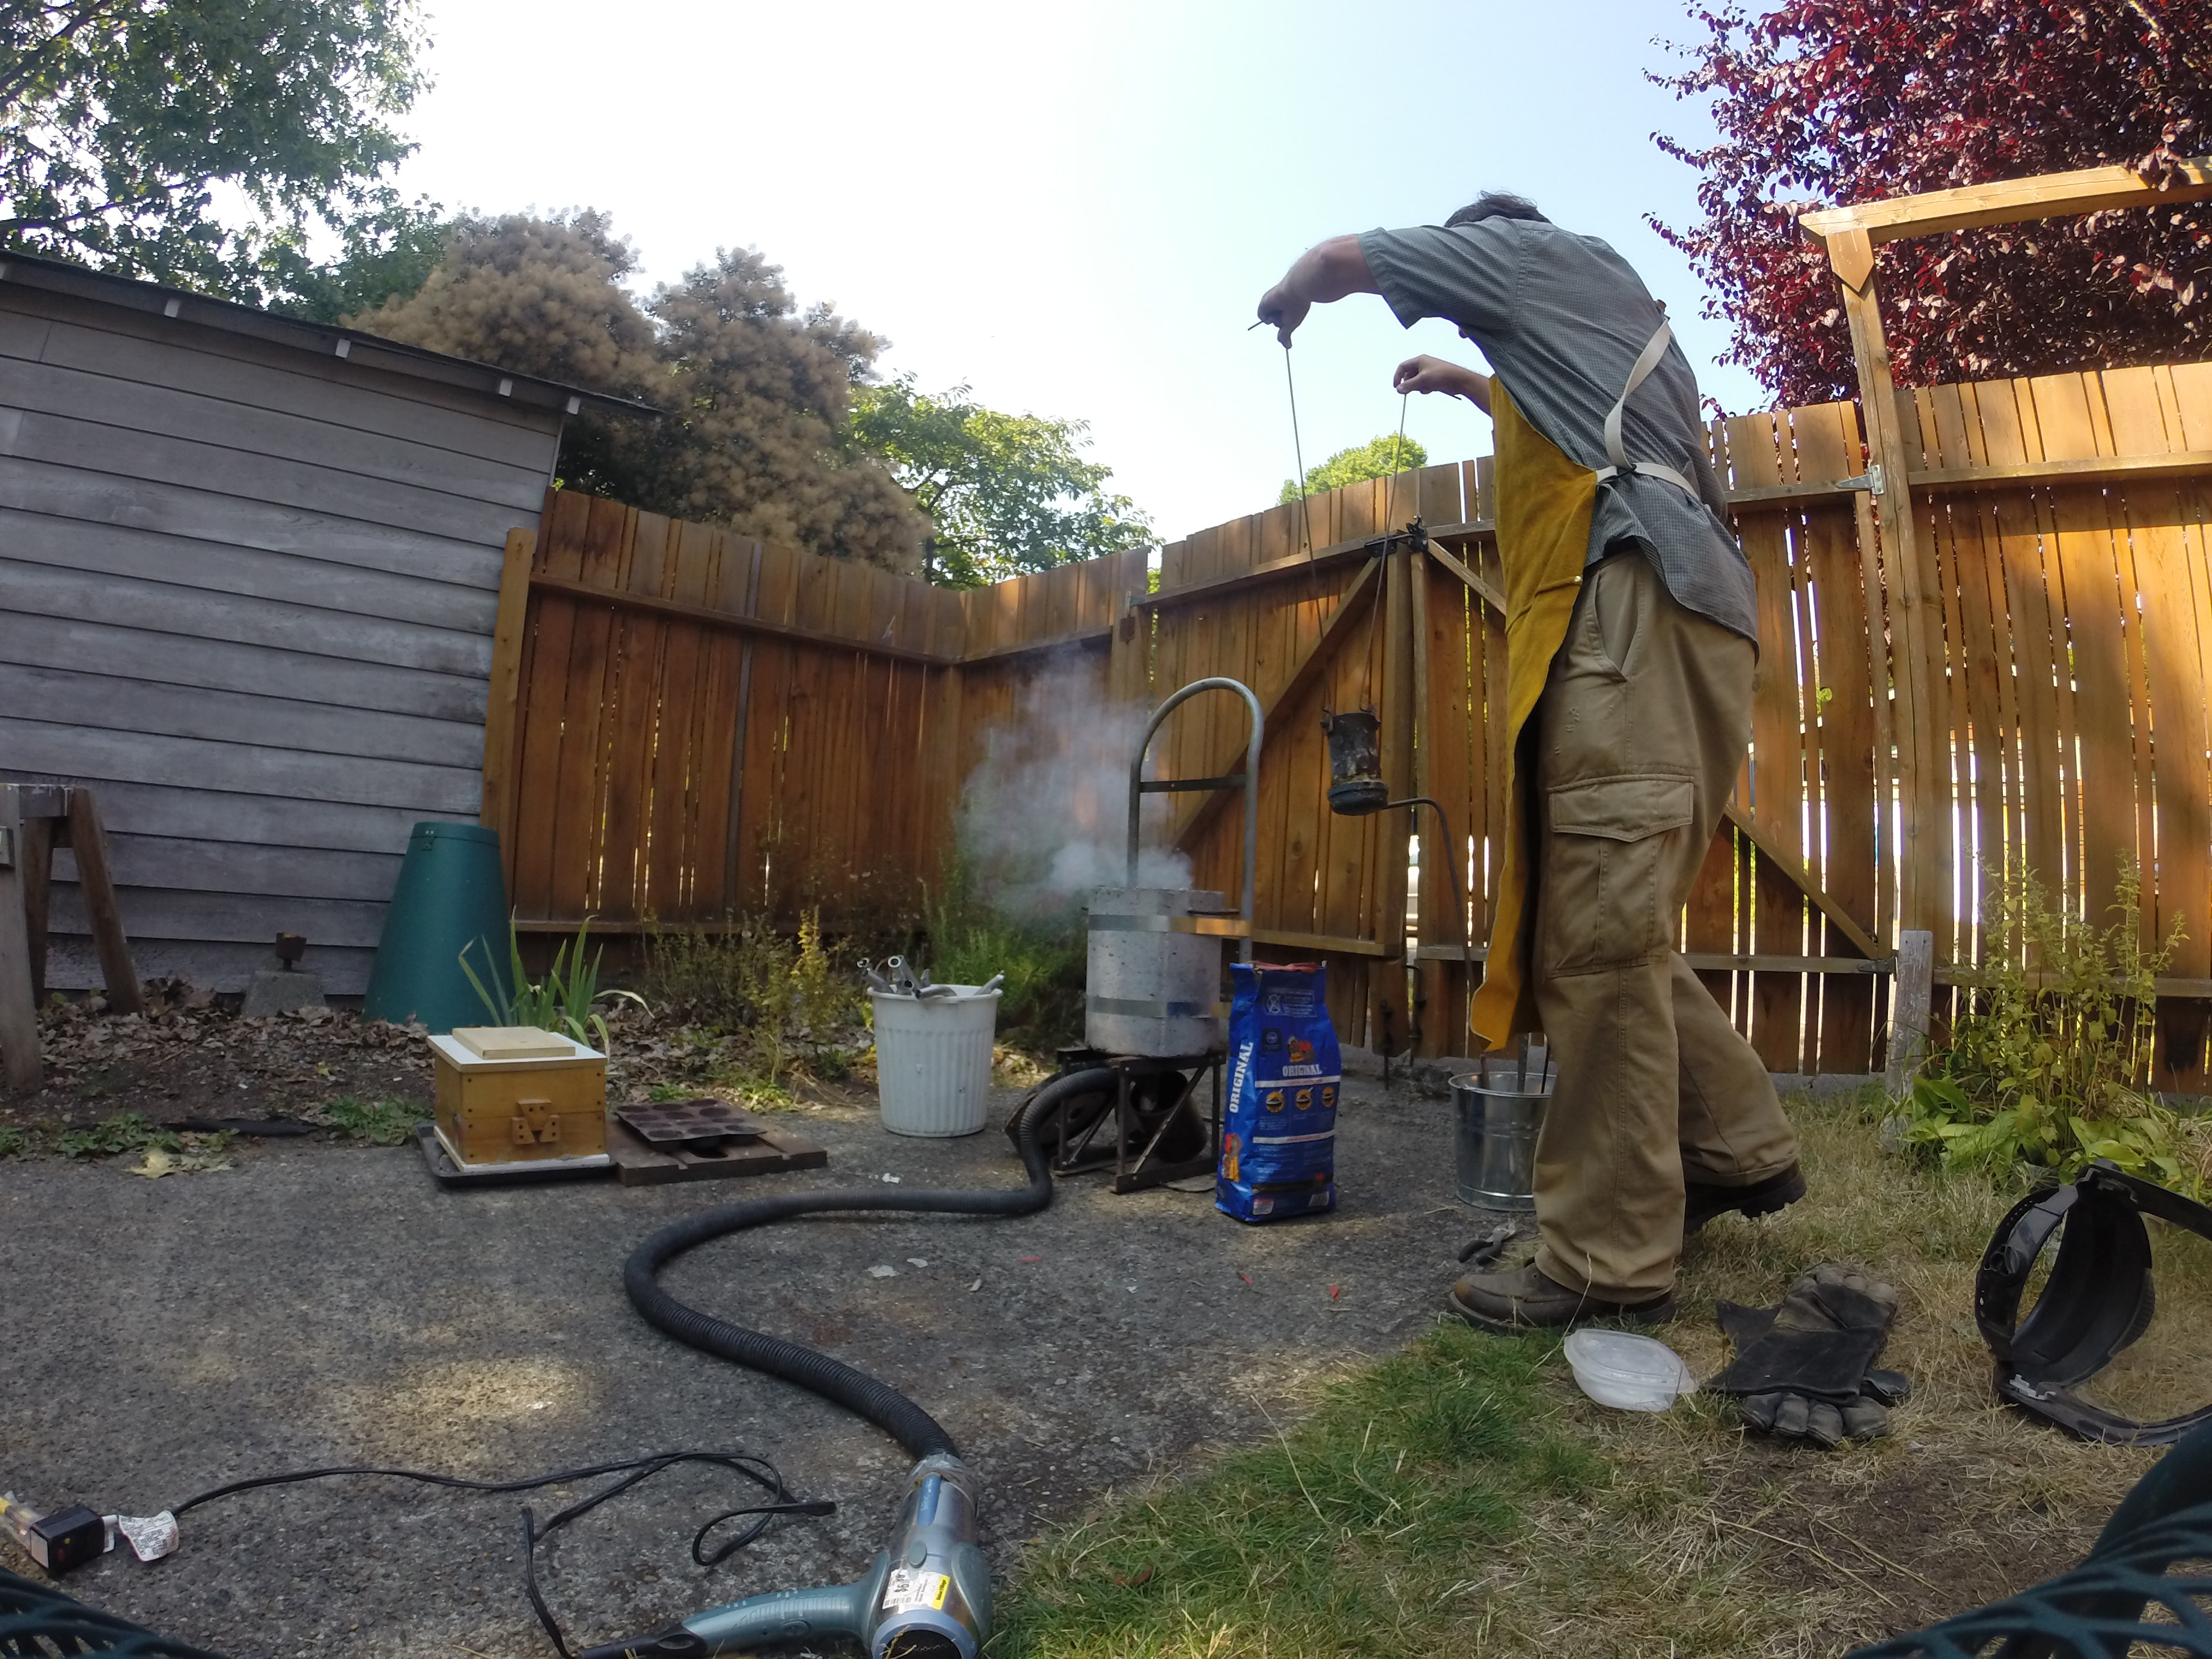
Start by assembling all the equipment you’ll need in one place, on a day with no chance of rain. (Click on any photo for a larger version.)

Going from left to right:
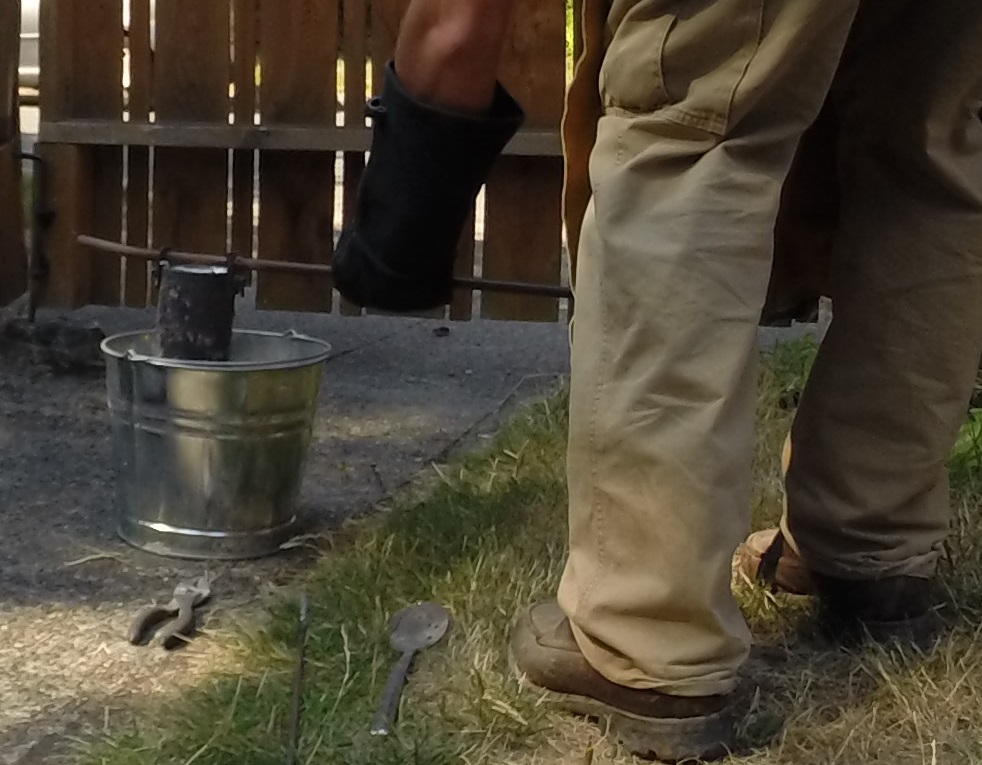
- I’m wearing safety goggles, a leather apron, cotton shirt and trousers, and leather boots without laces with the trouser legs around them. You want the boots to protect you from accidentally splashed molten metal, but also want to be able to kick them off in a hurry if they’re on fire. I wear natural fibers for the rest of my clothing; synthetic fibers can melt onto you when exposed to high heat and produce a nasty burn.
- The mold is in a deep iron tray – an old baking pan. If the mold separates then the aluminum will spill into the tray, rather than onto my concrete driveway. Concrete can explode when heated rapidly.
- My ingot tray, a rusty old muffin tin, is also on an iron slab, this one the former top of a table saw that I found on the side of the road.
- The white can contains broken up bits of scrap aluminum, old sprues and ingots to re-melt.
- The furnace and lid; note that the furnace is strapped to a hand truck for ease of moving it around; since it weighs 100 pounds.
- A bag of charcoal. The grocery store was out of wood charcoal, which is preferable because it leaves less “clinker” — tiny bits of stone in the ash — than briquettes, which are compressed wood and coal dust.
- A bucket half full of sand. In the event of a fire caused by spilling liquid metal, you always want to put it out with sand, not water. Water will turn to steam and launch the molten metal off in a random direction.
- Crucible lifters (in the bucket) — two iron rods with the ends bent into hooks that fit into the loops on the top of the crucible.
- Crucible pourer (in the bucket) — a thick iron rod with a bolt through it, so that I can lift the crucible by its loops and then pour it
- Stir stick (in the bucket) — an iron rod to move things around inside the furnace
- A long-handled spoon, to skim the dross off the top of the melt.
- A pair of pliers. In an emergency if I need to move the crucible in a hurry I can pick it up with the pliers.
- The crucible — a metal pipe with loops bolted to the opening — is in the bucket right now as well.
- Paper, lighter fluid and matches to get the furnace going
- A tub containing aluminum-foil-wrapped packets of KCl and Na2CO3, used to flux the melt and reduce dissolved hydrogen. Today I’m melting very clean aluminum so I’m not anticipating that either will have much of an effect, but it doesn’t hurt.
- Leather gloves and a face shield, for later.
- In the foreground, a thrift store hair dryer. In retrospect I realize that I’ve created a tripping hazard by running the hose between the furnace tools and the mold; next time I’ll remember to run the hose the long way around. But I am never going to be walking backwards carrying the crucible, so it won’t be too bad.
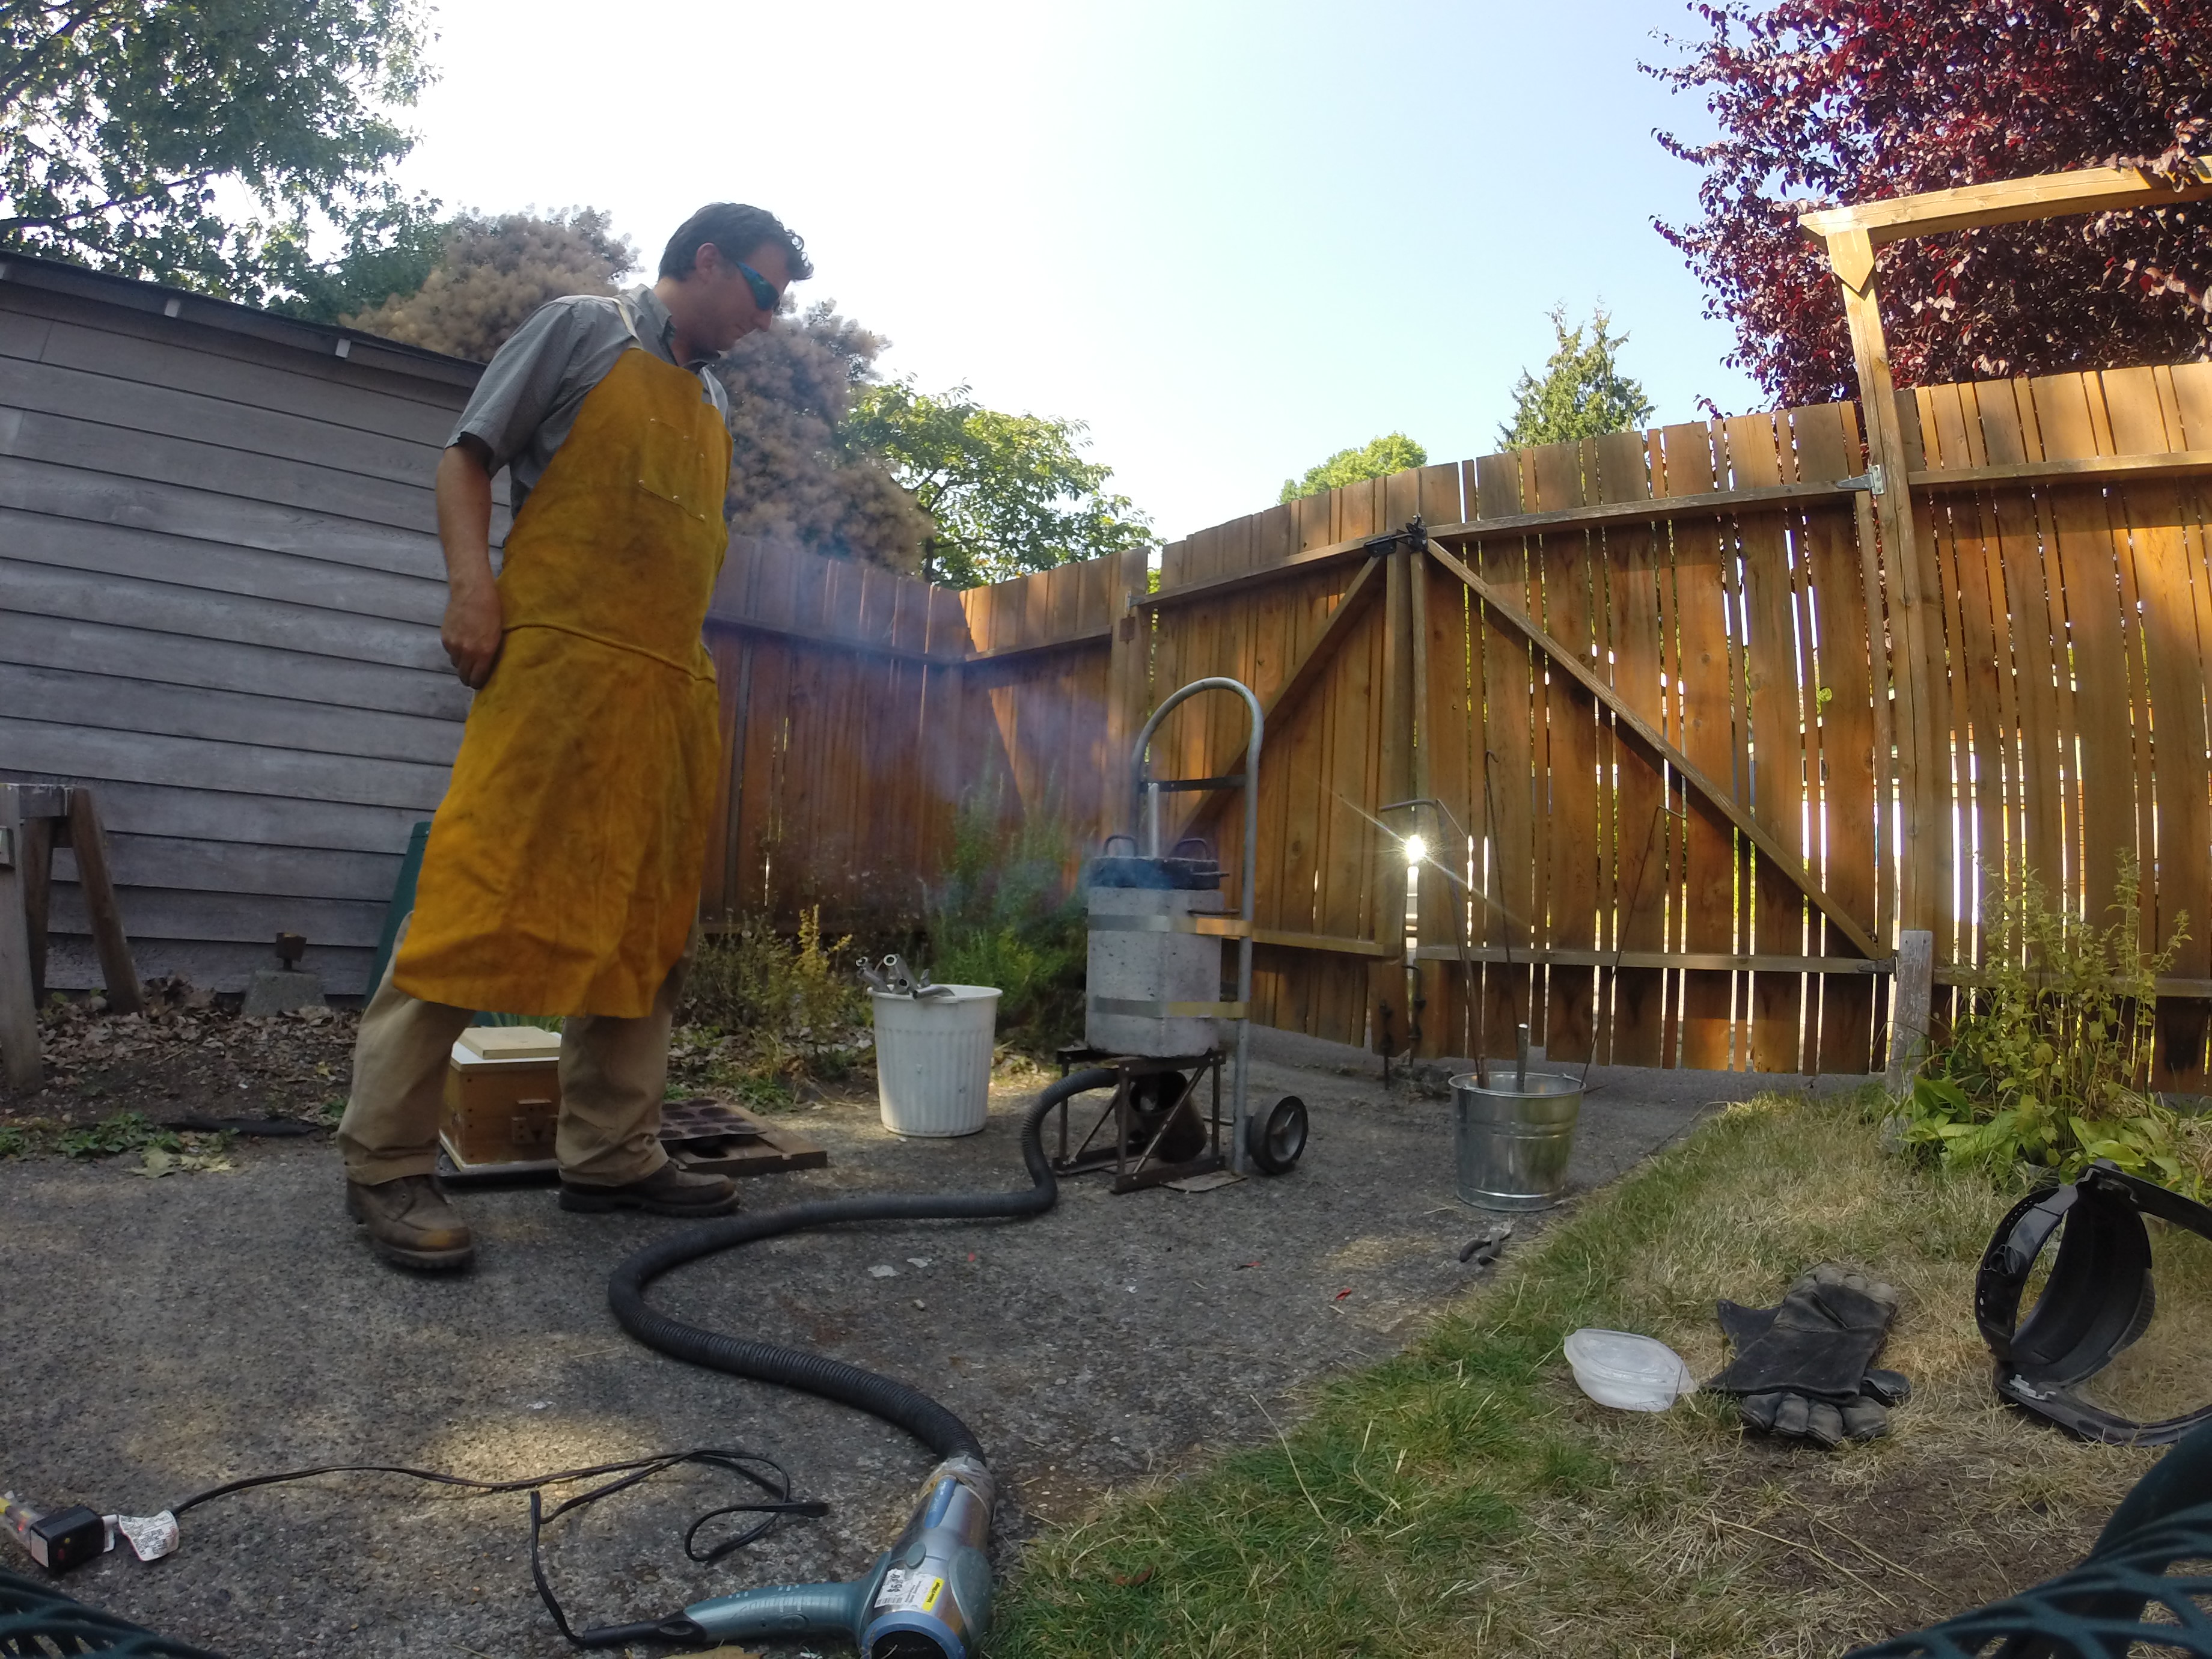
I put a layer of charcoal with some lighter fluid and paper in the furnace, get it lit, and a few minutes later, turn the air on low:

Note that I have removed the lighter fluid from the area. Let’s keep the flammable liquids away from the liquid metal, eh?
A few minutes later the layer of charcoal at the bottom of the furnace is burning nicely, so I turn off the air and put the crucible in the furnace.
I then surround the crucible with additional charcoal, put the lid on the furnace, turn the air back on, and put an aluminum tube into the crucible through the hole in the lid. There’s also a small amount of scrap aluminum in the crucible already. You don’t want to fill the crucible with big pieces of aluminum as it will expand as it heats, and possibly damage the crucible. It’s less of a concern with an iron crucible like mine; ceramic crucibles are inelastic and can easily crack if they’re full of expanding metal.
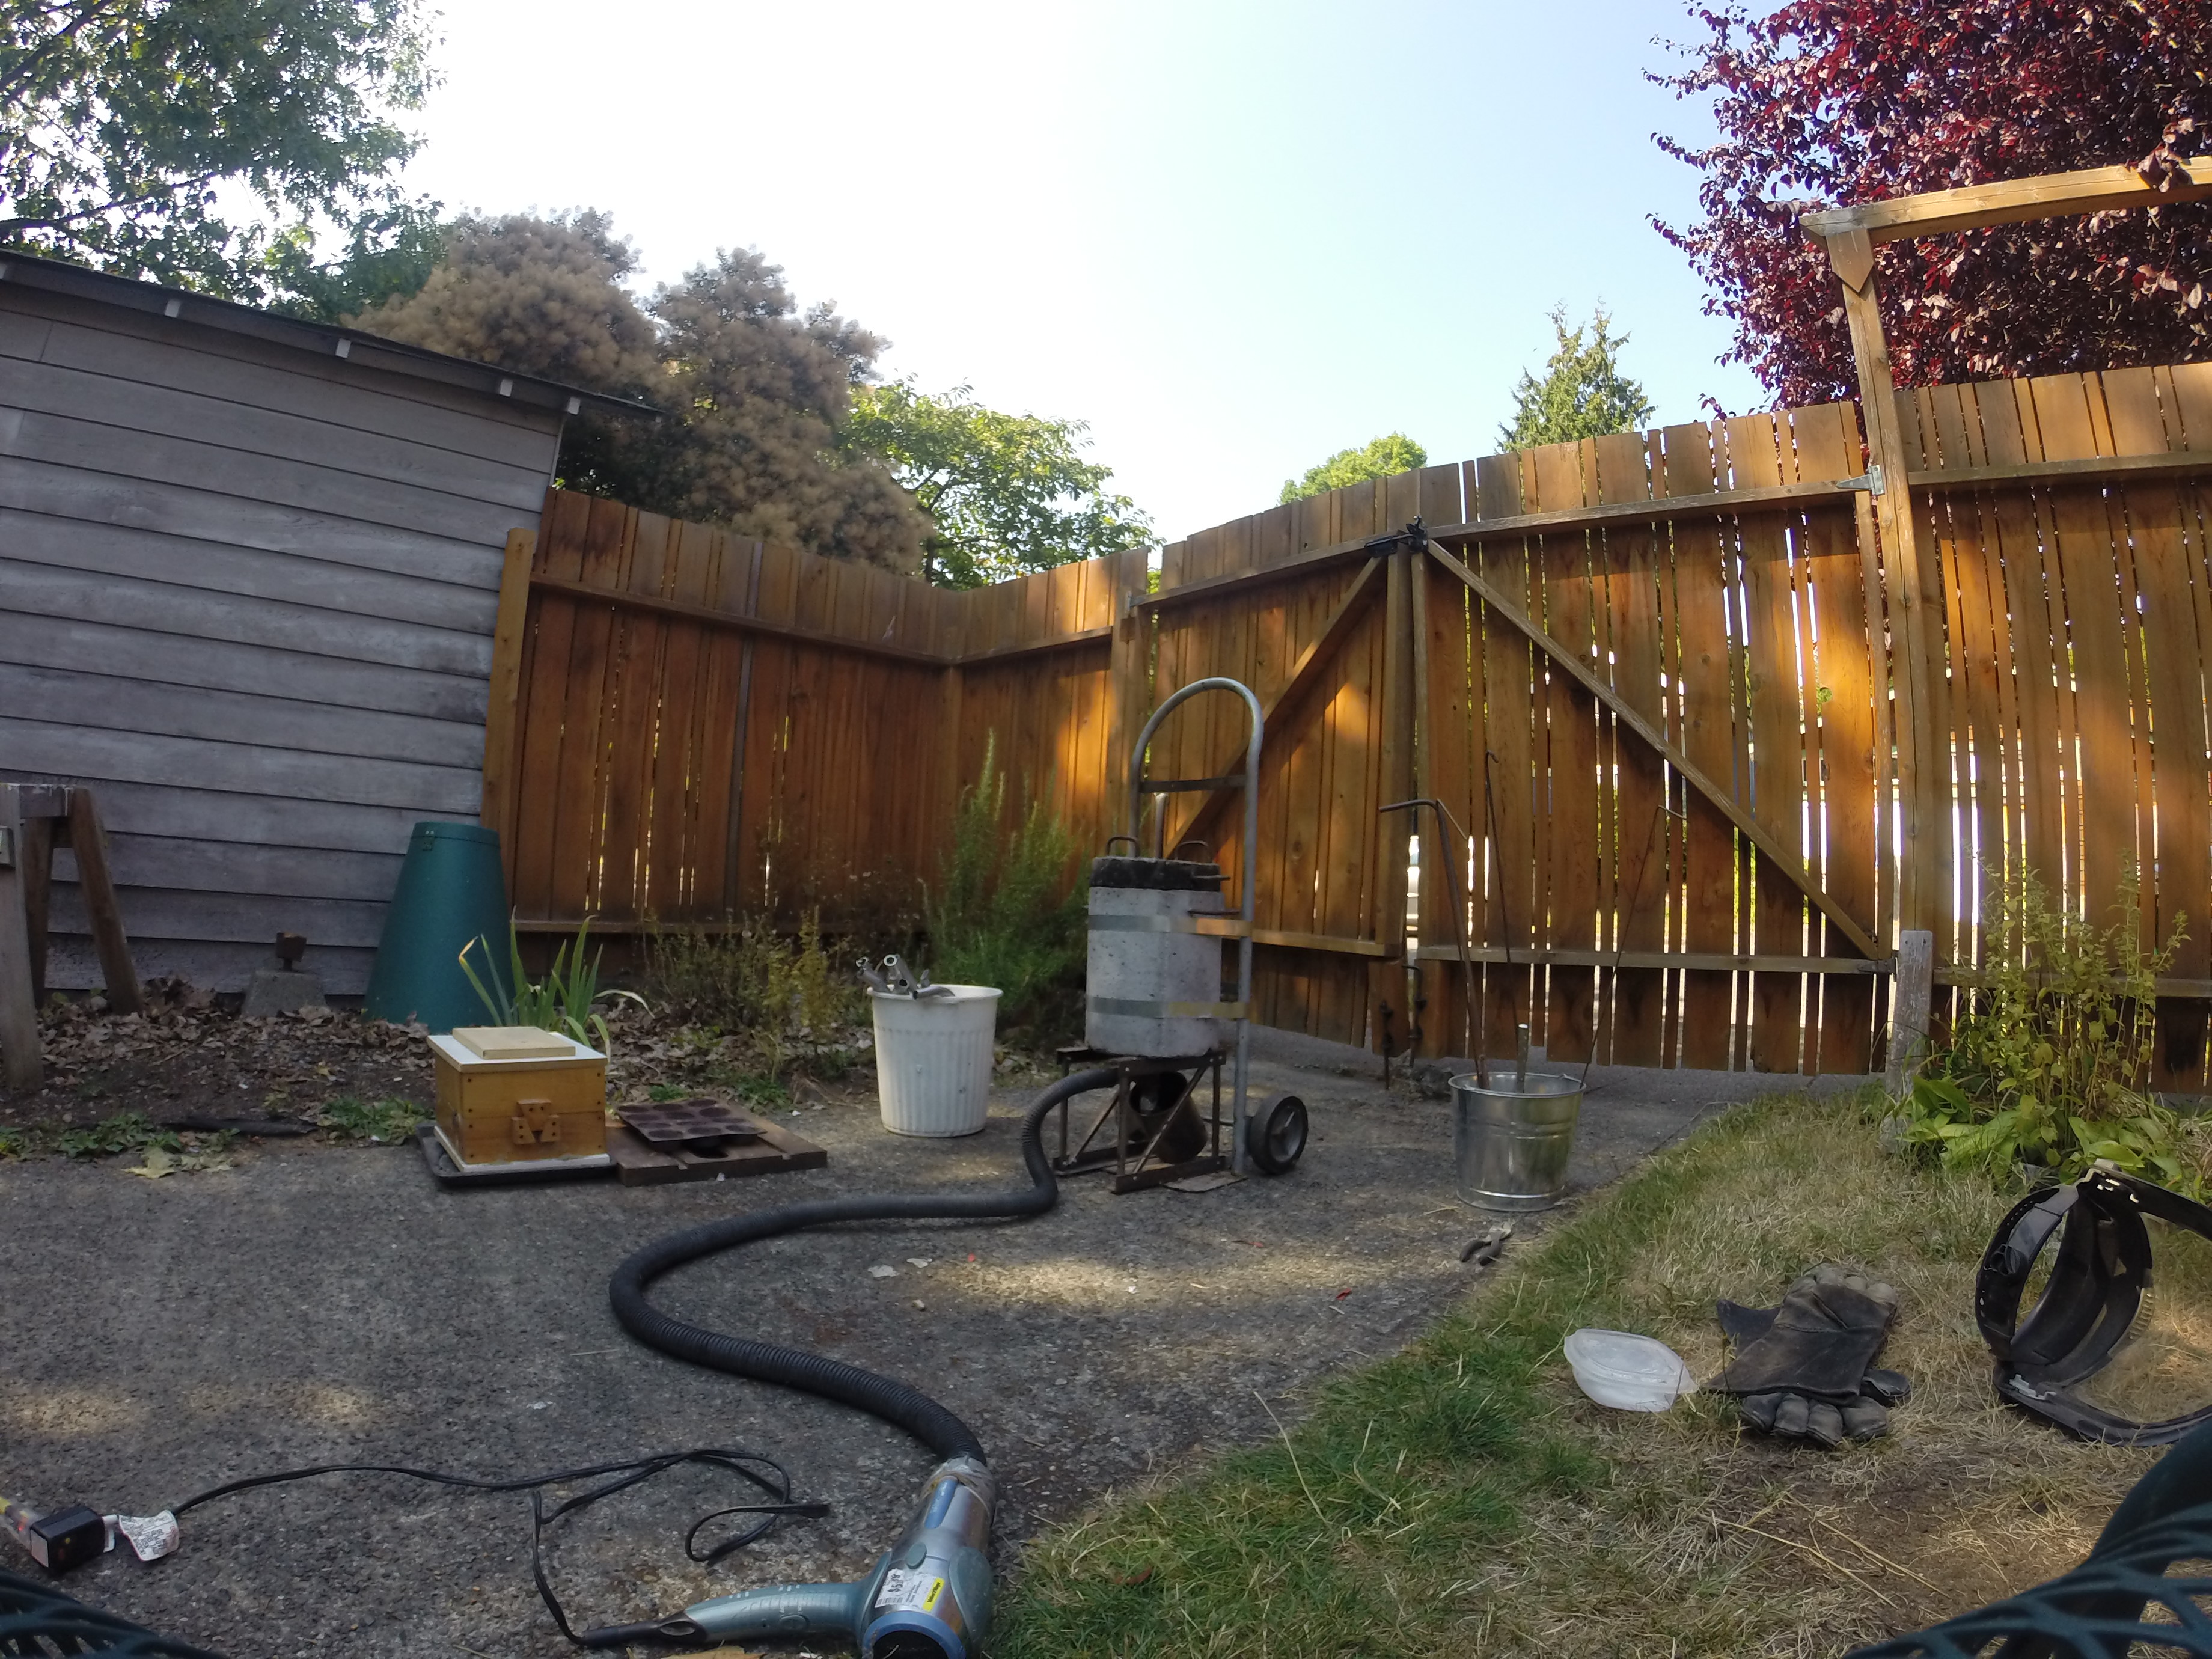
The fire will be smoky for some time as it is still low-temperature and there’s a lot of new charcoal to catch fire. Note that I have removed the charcoal bag from the area. I’m planning on melting a lot of aluminum today — part of the point of today’s melt is to find out just how much I can fit into the crucible — so I will need to add more charcoal halfway through. But I don’t want the bag cluttering up the area.
Ten minutes later the exhaust is much cleaner and hotter. Aluminum is not like iron, which gradually gets softer and more malleable as it heats up. Rather, aluminum is more like water ice: as it approaches the melting point it suddenly starts fracturing easily, then it gets into a slushy state, and then it becomes a liquid. Ten minutes in, the aluminum in the furnace is not liquid but I could tear it with my stir stick more easily than I could tear paper. The tube has started to collapse into the furnace under its own weight.
I put on my gloves and face shield and add more bits of scrap. Less than three minutes later the tubes have melted completely. The liquid aluminum has a huge surface area on the red-hot crucible bottom, and transfers heat very quickly to the solid aluminum tubes sinking into it. Eight minutes later I have melted an entire lawn chair and am out of tubes, so I start on sprues and ingots, which take longer because they have much less surface area per unit mass. At this point the charcoal has burned down quite a bit so I add some more around the crucible.
Aluminum tubing is easy to find as scrap and in fact for today’s melt I didn’t even have to leave my property; someone left a broken lawn chair on my front lawn. Normally I am irritated when people leave trash on my lawn but I will gladly accept broken lawn chairs! The alloy is designed for easy extrusion, not for metalworking, so it is not ideal, but you can’t beat the price, and it usually is not painted. Paint (or vinyl coating) makes toxic fumes and causes the melt to take on hydrogen gas, which then forms bubbles in the casting. The Na2CO3 will help remove the hydrogen, but I’d rather not go there in the first place if I can avoid it.
Twenty minutes later I have melted enough sprues and ingots that the crucible is almost completely full. I take the lid off, skim the dross — the bits of aluminum oxide and impurities that float — off the top and put it in the ingot tray to cool; this will be trash. (Trying to recover aluminum from aluminum oxide is not really worth it when aluminum is so plentiful.) I add some flux and degassing powder, and then turn the air blast on to maximum to get the last bit of heat out of the charcoal. I remove the cover from the mold. A minute or so later, I’m ready to pour; I remove the lid, take off the last bits of dross, and get ready to take the very full crucible out. Here’s what the inside of the furnace looks like:
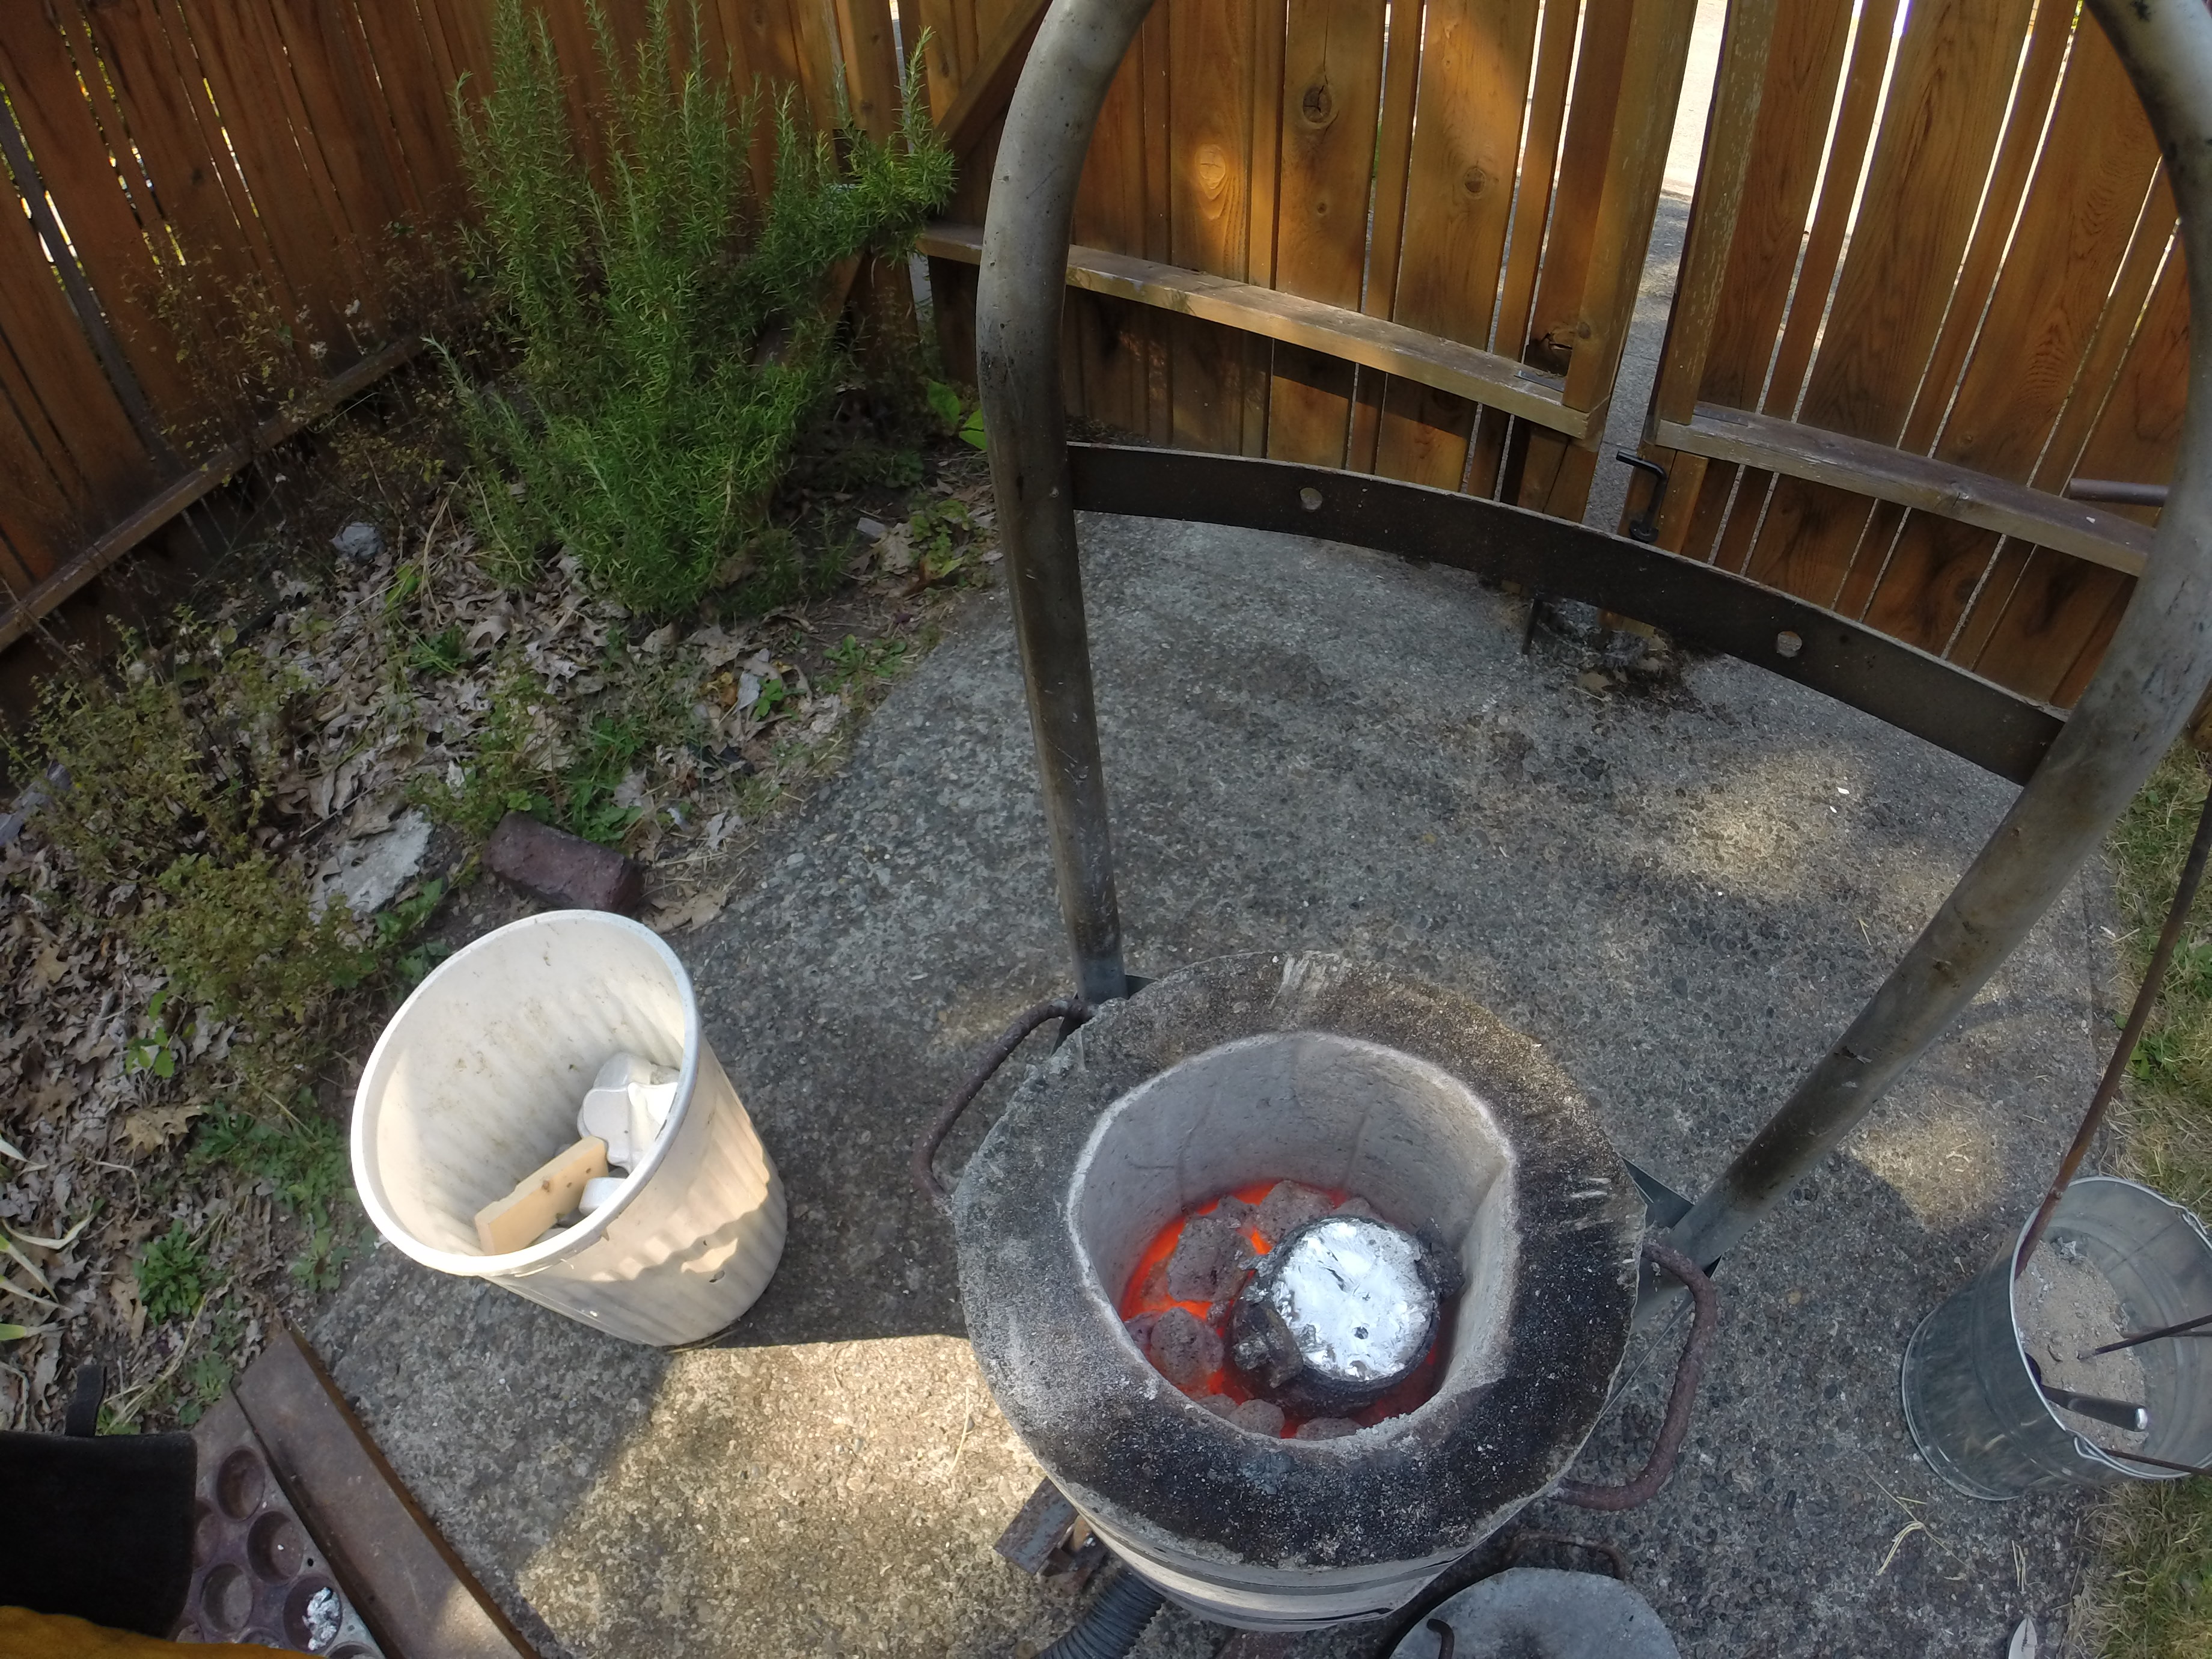
This isn’t quite as hot as I would like — I’d prefer that the crucible be more obviously red-hot — but this was the largest melt I’ve done and it’s taken longer than usual. As you can see, almost all the fuel is used up. It’s hot enough to pour and so I’m going for it. I very carefully lift the crucible out of the furnace and put it down in the sand bucket:

And then lift it right back up again with the pourer:
And then pour into the mold; the remainder goes in the muffin tin.

Then wait for it to cool, dump the sand back into the sand bin and extract the casting from the sand. The result was 1632 grams of aluminum, so now I know the maximum mass of aluminum I can melt with this crucible and furnace.

Why sand and not a fire extinguisher?
Sand is easier, cheaper and far, far safer.
Remember that we have already rejected water, because it will flash into steam on contact with aluminum at 1400+ degrees. Steam is 1600 times less dense than water, so water produces a steam explosion that shoots molten aluminum around the yard, which is more dangerous than the fire.
Fire extinguishers are full of wet foam. They are just as bad as water if not worse.
Dry chemical extinguishers don’t solve the problem as well as sand either.
Fire needs three things: fuel, air and heat. In a scenario where I’ve spilled molten aluminum and it has set something on fire, there’s no way to get rid of the heat, but the sand can cut off the air. The sand will sink into the aluminum and help form a barrier between the fuel and the heat. Blowing a bunch of baking soda and carbon dioxide at the fire does not permanently remove the air, the fuel or the heat; the fire can start right back up again.
Basically, it’s the same principle as when you’re dealing with a grease fire in a kitchen. Don’t hit it with water or a fire extinguisher; that will just spread the burning grease around. Put a lid on it to cut off the air, or pour salt on it for the same reason. (Though, interestingly enough, an aluminum foundry is hot enough to melt salt. I’ll have to try that sometime.)
Sand, of course, also sees a lot of use in chemistry labs to extinguish any violent exothermic reactions. It’s very unreactive and withstands high temperatures.
But then there’s this stuff, which will ignite wet sand:
http://pipeline.corante.com/archives/2008/02/26/sand_wont_save_you_this_time.php
“The compound also a stronger oxidizing agent than oxygen itself, which also puts it into rare territory. That means that it can potentially go on to ‘burn’ things that you would normally consider already burnt to hell and gone, and a practical consequence of that is that it’ll start roaring reactions with things like bricks and asbestos tile.”
If you were to use a fire extinguisher (and I don’t recommend you do), you’d choose a Class D fire extinguisher. Class D is normally used for combustible metal, due to the extremely high heat of combustion. They use a dry powder agent such as salt crystals or graphite – in other words, materials with high surface area and low combustibility, like sand.
Indeed, one of the things I worry about is accidentally getting some magnesium into the melt and starting a fire that I cannot easily put out. Magnesium of course does not require air to burn, makes its own heat and is its own fuel. Fortunately the quantities of magnesium I’d be dealing with are just a few grams so I am not that worried. And I’m mostly melting broken lawn chairs, which are unlikely to be magnesium.
I don’t believe Magnesium can burn on its own. It doesn’t require oxygen to burn, it can burn in nitrogen forming the nitride or under water taking the oxygen from the water, but not in a vacuum. If you’re familiar with self-burning magnesium chemistry, I’d love to hear about it.
Good point, I was speaking imprecisely. Under conditions we’d normally find ourselves in on Earth, magnesium can be hard to extinguish once it starts burning.
Do you ever worry about the liquid aluminum spontaneously forming a T-1000?
More seriously, what does the finished product look like?
I do not worry about that much, but perhaps I should.
An example of the fresh-out-of-the-mold casting is in the previous episode in this series.
As I get better at this and start building more tools to work metal I’ll start posting finished examples.
Great post. I quite enjoy reading this series even though I know nearly nothing about it (the DIY aspect is very interesting). And hey, your skills will be in high demand in any number of post-apocalyptic scenarios! And I must say, that first picture has quite the “mad scientist” vibe going 🙂
If you’ve said before I don’t remember — what is your end goal for an operational aluminum foundry? Do you have something specific in mind that you want to craft?
My goal here is to learn how to construct tools, because constructing tools is super fun! I’ve constructed software tools for more than half my life now, and I’d like to learn how to construct physical world tools as well.
The project that I am gradually preparing for is to build the Gingery Lathe. The late Dave Gingery wrote a seven-part series of books in which he describes how to build a foundry, lathe, shaper, drill press and other metalworking tools from scrap at a tiny fraction of the cost of buying each. For me it’s not so much the cost savings (or the post-apocalypse skills!) as it is the opportunity to learn for myself how tools work at a fundamental level.
When I eventually do get to the point where I can reasonably start building the lathe, I’ll document it on the blog.
But if I were curious about the fundamental level, I’d probably start by brushing up on my college physics and mathematics, in order to try very hard to understand the engineering concepts involved (since I’ve never had any engineering). Forces, stresses, materials and how they translate into a CAD specification for a tool. Afterwards, all that remains is the messy part: following the recipe to the letter in order to obtain the expected result, the surface level of tools as opposed to the fundamental level of how they manage to perform their function.
Indeed, I agree with you completely. I recently read the third edition of Mechanics of Mechanisms, which was published in 1948 and first published in I think 1927. It is both entertaining and enlightening to read college textbooks from bygone eras if you are interested in the fundamentals of a subject. The materials we make gears out of have changed greatly since 1927, but the mathematics of involute gearing have not.
As Gingery points out in his books, the adventure of building machine tools from your own foundry is essentially a recapitulation of the development of tooling during the industrial revolution. Gingery recommends reading century-old editions of the Southbend lathe manuals, many of which are available online now.
The only subjects I have delved into deeply enough to read texts from bygone eras are mathematics and theology.
In the first, I’m amazed at how far the quality of mathematics education has come – I have read a couple of hundred pages of a modern calculus textbook in one sitting and found it all very informative, but textbooks from even fifty years ago are a lot harder to wade through and would have taken effort to keep up with at normal high school pace. I don’t think they do any better at communicating the concepts, either, although you would get a larger body of rote-learned knowledge.
In the latter, the same is also true if you look at it over a longer time scale. Greek is a lot more readable with punctuation, case and spaces between words; all invented or at least became widespread in the last couple of thousand years.
Indeed, pedagogy has improved over time. When reading Mechanics of Mechanisms I frequently noted that even small things like having the figures referred to on the same page as the text, or eschewing constructions like “at the intersection of line AA’ and aa'” which you cannot easily read out loud, would have made comprehension much easier. I’ve tried reading calculus and physics textbooks from the 1950s as well and found them hard going. Compare them to something like my undergraduate physics text — Serway — with its colour diagrams on every page, and it is easy to see how far we’ve come in pedagogical design. And we’re just getting started; half the time when trying to sort out a diagram in Mechanics the first thing I’d do is just try to figure out what part was moving. An animation would have made that immediately clear.
This brings back fun memories of when my brother and I used to do this as 14-16 year olds. Used an old cast-iron teapot for a crucible and melted down hundreds of soft-drink cans. Had no idea what we were doing but we cast some pretty cool stuff regardless, knife handles, etc. Safety precautions were non-existent. Flip-flops, shorts and tshirts were standard attire and the garden hose was left running to douse the frequent grass fires…
For some reason recently I’ve been getting a slew of these replies on my wordpress site. They aren’t exactly spam because they are so friendly but I think its spam somehow…
excellent post btw. I saw another where a guy used frying oil as the fuel in the foundry. I guess charcoal is the most obvious choice.
Definitely spam, now deleted. The user’s name was a link to a video advertising a scam.
Spam posts that contain no advertisments at all are the spammer’s test cases. They will send out hundreds of thousands of similarly-worded computer-generated comments to sites and then track which ones make it through the filters. They are reverse-engineering the filter algorithms to better understand how to defeat them with real spam. I can think of better things to do with my time.
Regarding burning waste oil as fuel: it is a good technique. The oil burns very hot, hot enough that you can melt bronze and brass. I have heard of people even melting iron with waste oil setups, which requires in the neighbourhood of 2800F! The tricky bit with oil is that you have to build a device which aerosolizes the oil so that it burns completely and rapidly, and I don’t know how to do that. Charcoal is a lot simpler: pile of charcoal, gentle air blast, you’re done.
Pingback: Bookmarks for September 13th | Chris's Digital Detritus
Wear long sleeves! Best – wear a regular working uniform made of wool.
You have though well about the protection and then you are leaving half your arms exposed when pouring…
I’m told igniting aluminium is great fun, but I’ve never tried to do it myself. I’m told dry sand is very important, as is a good layer of sun block.
Pingback: Les liens de la semaine – Édition #97 | French Coding
Aluminum comes in many grades and alloys. You can melt any aluminum, but when it comes time to actually make a usable casting, you’ll find that it you started with scrap castings (engine blocks, etc.) you’ll have much much better results than if you started with, say scrap extrusions, such as lawn chair frames.
Indeed, I am mostly practicing by melting extrusions. I have a small cache of aluminum engine parts which I will melt down when I go to actually start building machine tools.
Pingback: Casting: making a green sand mold | Fabulous adventures in coding
Why should the dross off the top of the melt removed while doing the melting process?
Good question. First let me clarify it. The melted metal will contain some amount of aluminum oxide, which melts at a much higher temperature and therefore remains solid. It floats, so you end up with a crust of slushy dross at the top of the crucible. I usually remove it twice, once as we’re getting to the end of the melt, and then again after removing the crucible from the furnace and immediately before pouring. Your question is, I gather, why remove it twice? Why not simply remove all the dross immediately before pouring?
A few reasons come to mind. First, I want to save as much time as possible once the crucible is out of the furnace; it is losing heat rapidly to the environment and I don’t want the melt to freeze as I’m pouring. Having most of the dross gone makes it faster.
Second, when I am trying to decide whether the aluminum is ready to pour, it helps to be able to see the surface of the melt. You can get a sense of how hot it is. So having the dross out of the way helps.
Third, I often add some chemicals to the melt to degas it and flux the melt just before removing the crucible. This requires pushing a packet made of aluminum foil to the bottom of the melt quickly. I don’t want to mix dross back into the melt when I do that.
Hi Eric, would you have any idea how much liquid will create 1-2kg Aluminium? Thanks
Take a look at the videos produced by Olfoundryman. Excellent explanations. He has a home foundry that he uses to make $. My casting have gotten much better since I started collecting information from his videos. He will also respond directly to you. By far the best casting site I’ve found.
I would like to know for 1 ton aluminum to be melted how much tons of firewood is required
Aluminum takes roughly one Joule of energy to raise one gram by one degree Celcius. So to raise a million grams by 700 degrees would take about 700MJ. We’ll ignore for the moment the extra energy it takes to liquify the metal. Red oak burns at about 14MJ per kg burned, so we’d need about 50kg of wood, if we could burn it at extremely high efficiency.
Pingback: Brazilian 'ghost' aircraft carrier gets a reprieve - Positive Bunker